Before we get into the thick of technology and machining terms, let me ask you: have you ever tried to make a cake following a recipe and without having the slightest idea how it is made? Well, the same thing happens with the machining of parts. You need to know the machines you have. Go out to the factory, talk to the operators, observe with them the machining of a complete sheet metal job and ask their opinion. It is essential to be able to apply technology and machining and do it well.
A useful bit of advice. If, in the machine configuration, in the “System” tab, you have the machine well configured for its different technology values, it will be better than having to define any technology and/or machining configuration in the individual part, leaving it to be done during the nesting and sheet metal machining. Lantek will then optimize and use the minimum possible tools to manufacture all the parts in the nest for you.
The Lantek punching technology menu has several very useful options to configure the punching process of a part.
First of all, we find the "Common punching / Non-common punching" option. This option allows us to decide if we want the piece to have a common cut with the piece next to it. That is, if we want the pieces to share the same cut, or if, on the contrary, we want to leave a gap between each piece so that they have separate cuts.


The "shear" option allows us to define the technology that will be used in the shearing process. Shearing is the cutting process done with a straight cutting blade or with an "L" shape. Another interesting option is "Micro-joint". This option allows us to define a micro-joint (or tag) in the part, which is important if we don’t want the part to come loose during the punching process causing problems such as breaking of punches or dies.
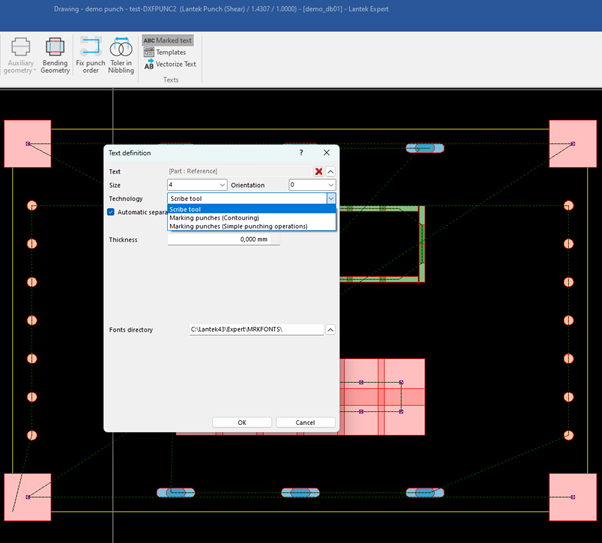
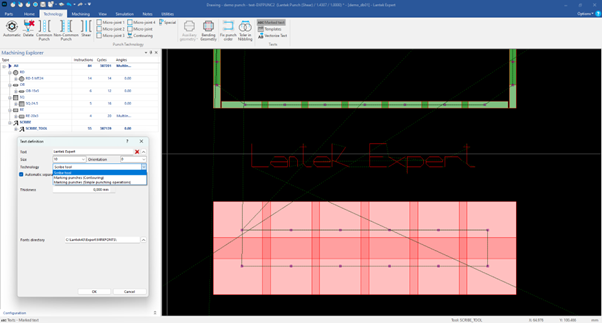
Finally, we find the "Markup" option. Here we can define the technology necessary to mark a logo or an inscription on the piece. It is important to keep in mind that this process is carried out with a specific tool for this purpose, so it is necessary to define the appropriate technology so that the marking is carried out correctly and accurately.
.
When working with punching machines, you can also make good use of the "Machining" menu. Through it, you can have greater control over the cutting process for the part, surgically defining how many blows you want to give, which tool to use, and even deciding the preferred punching order. It is a menu that gives you the freedom to work directly on the piece, without limitations.
In the “Machining” menu for punching machine we have the following:
Automatic: In this section, you have a series of options to do the machining automatically or semi-automatically. It’s the first thing I always try, to see what comes out, although afterwards I usually change things a little.
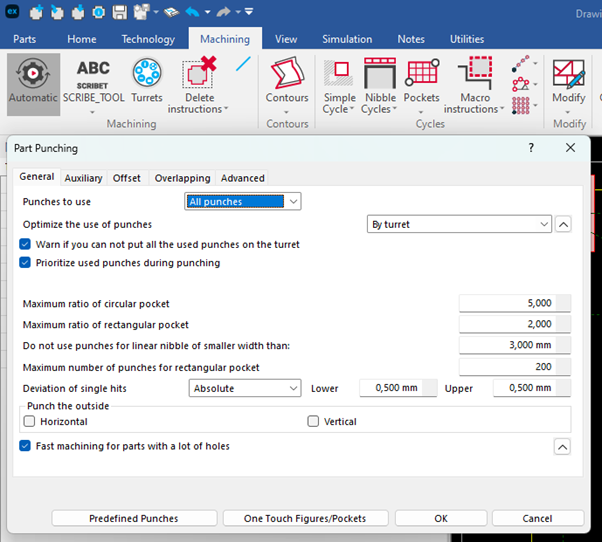
Contours: This section of the menu allows you to define how many strokes you want to take, with a specific punch, and allows you to define the piece almost surgically. I recommend that you try these options.
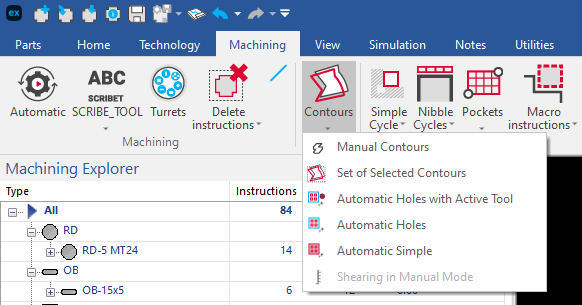
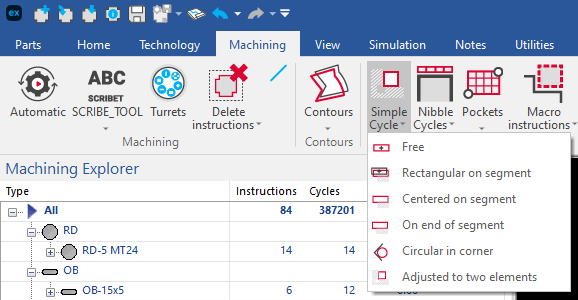
Cycles: Here you can define slotting and destruction cycles, and the best of all is that you can do it with the tool of your choice. Very useful to avoid leaving loose pieces of scrap on the table, which can cause a problem.
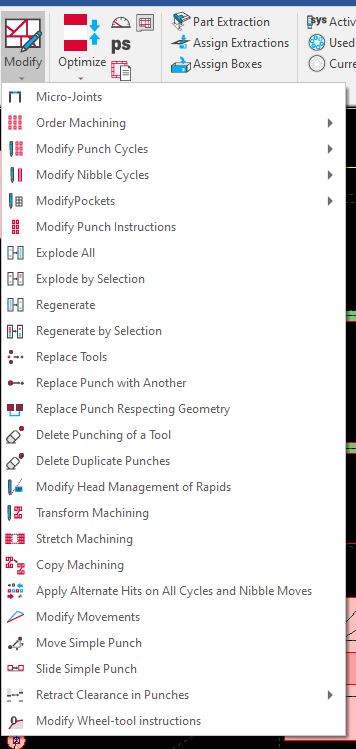
Modify: In this section you can modify the punching details. Replace one punch with another, decide the order in which you prefer the piece to be punched etc.
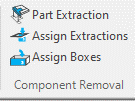
Part Extraction. In this section you can define which boxes of the extraction device you want the pieces to fall into. However, you may prefer the machine operator to define this.
View: Here you will be able to see information about the machining process such as which is the active turret or which punches have been used so far.
Although on punching machines I usually work directly in the machining menu, on laser machines it is quite the opposite, I usually focus on the “Technology” menu to obtain the best results, while the “Machining” menu is only used in if necessary. In the technology menu, we can define aspects such as cutting speed, attacks, tagging and many other things. So, let’s get down to business.

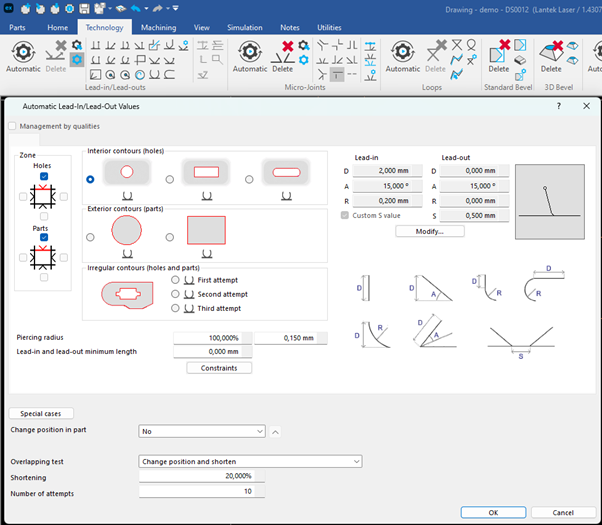
First, we have the "Lead-in Lead-out" section. In this section, you can define how the piece will be attacked, that is, how the material will begin to be cut. You can choose between different options, such as angled or arc attack, and adjust the parameters to suit your needs.
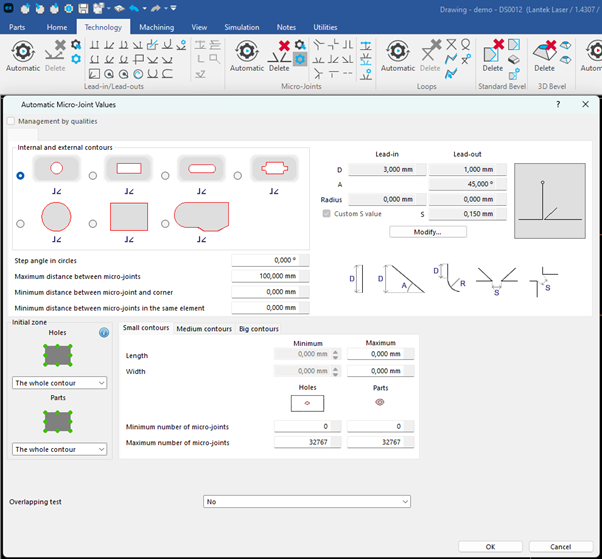
The next section is "Micro-joints". Here you can define how the piece will be held so that it does not move during the laser cutting process. It is important to ensure that the piece is well supported to avoid the piece tipping up which may cause a collision with the laser head.
The “Loops” section can allow you to define how the corners of the piece will be cut. You will be able to adjust corner rounding, the number of loops and other options, it is mainly used to achieve sharp edges and often on machines with a bevel head (chamfers), especially for those machines with a tangential head, to avoid penetrations allowing the head to be positioned at the correct angle before moving on to the next element.
The "Chamfers" section is very important if we want to add a chamfer to the piece. Here we can define the angle, length and position of the chamfer. With this section we define the type of chamfer that will be applied to the contour. In any case, our machine must be capable of managing this technology.
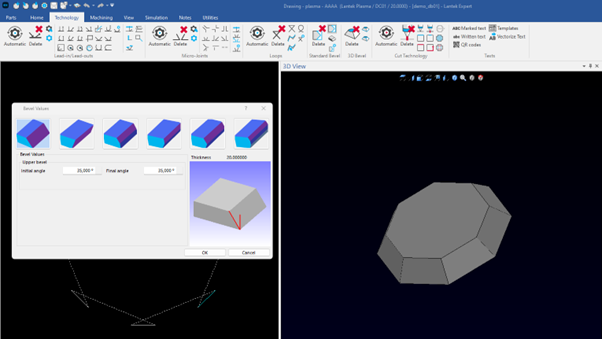
The "Cutting Technology" section is the most important part (for the user) of that menu, since it is the one that most affects the quality of the cut obtained in the part when machining.
Here you can decide the laser cutting technology to be used, which is defined in the machine configuration, such as the laser power, cutting speed and the type of gas used. It is essential to choose the appropriate technology for each area of the part to be machined.
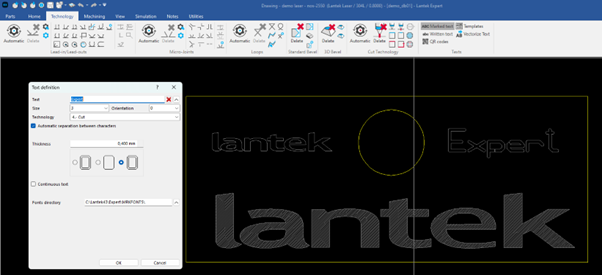
Finally, you have the "Marked texts" section, which allows you to add inscriptions or marks to the piece. Here we can adjust the size, position and font to obtain a personalized and professional finish on our laser cut pieces.
Now I’ll tell you about the sections of the machining menu that you can find on laser machines. Here you can define the details of the contours and work cycles, modify some aspects, put in extraction options and even see data from the machining process.
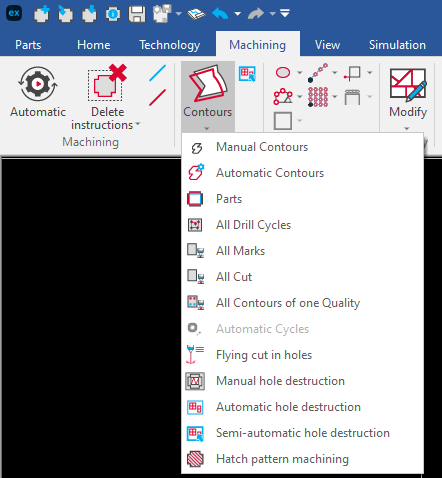
In the “Contours” section you can machine the contours you want to cut on the part, such as straight lines, circles, arcs, etc. It will be done taking into account the power and speed defined in “Technology”.
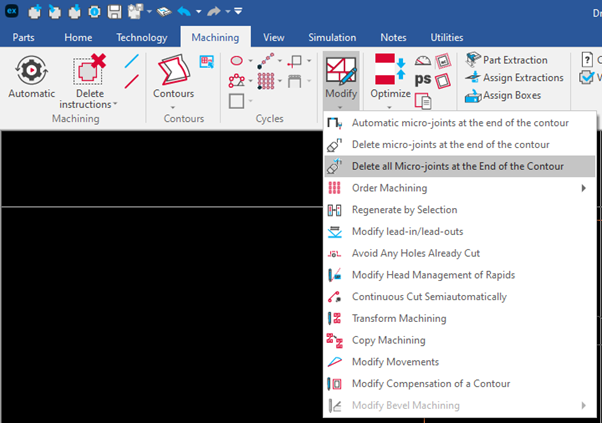
In the “Modify” section we can apply rapid hole machining, change the rapid trajectories of the head or destroy holes that could cause a collision with the head if the scrap tips up.
If you want to go into more detail, the “Options” section includes a variety of advanced laser options, where you can adjust laser height, corner compensation, etc.
Of course, there is a “Part Extraction” section. Here you can define the removal of the part, which will depend on the machine and will be part of the configuration. (In laser it is extremely rare to see extractions, although there are some cutting machines that extract parts through a trap door. This is applied in the nest and not in piece).
Finally, in the “View” section, you can get information about the cutting process, such as the current speed, laser power, table position, etc.
Who doesn’t like to save time and money? Well, that is precisely what Lantek offers if you know how to make the most of its technology and machining options. With its software, it is possible to optimize the machining process, from planning to execution, which translates into greater efficiency and, consequently, reduced costs.
To get the best results it is necessary to go to the factory to see how the operator works at the machine, there you will discover the necessary criteria to apply in Lantek.
I hope you liked the article and that it gave you some ideas that will help you improve the machining process for your parts.